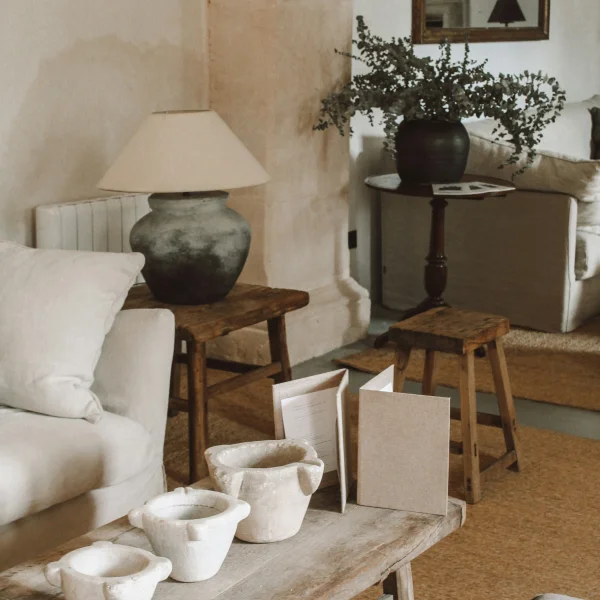
Expert tips for flawless peel and stick wallpaper installation—minus the bubbles and beginner mistakes—so your walls look smooth, aligned, and expertly finished.
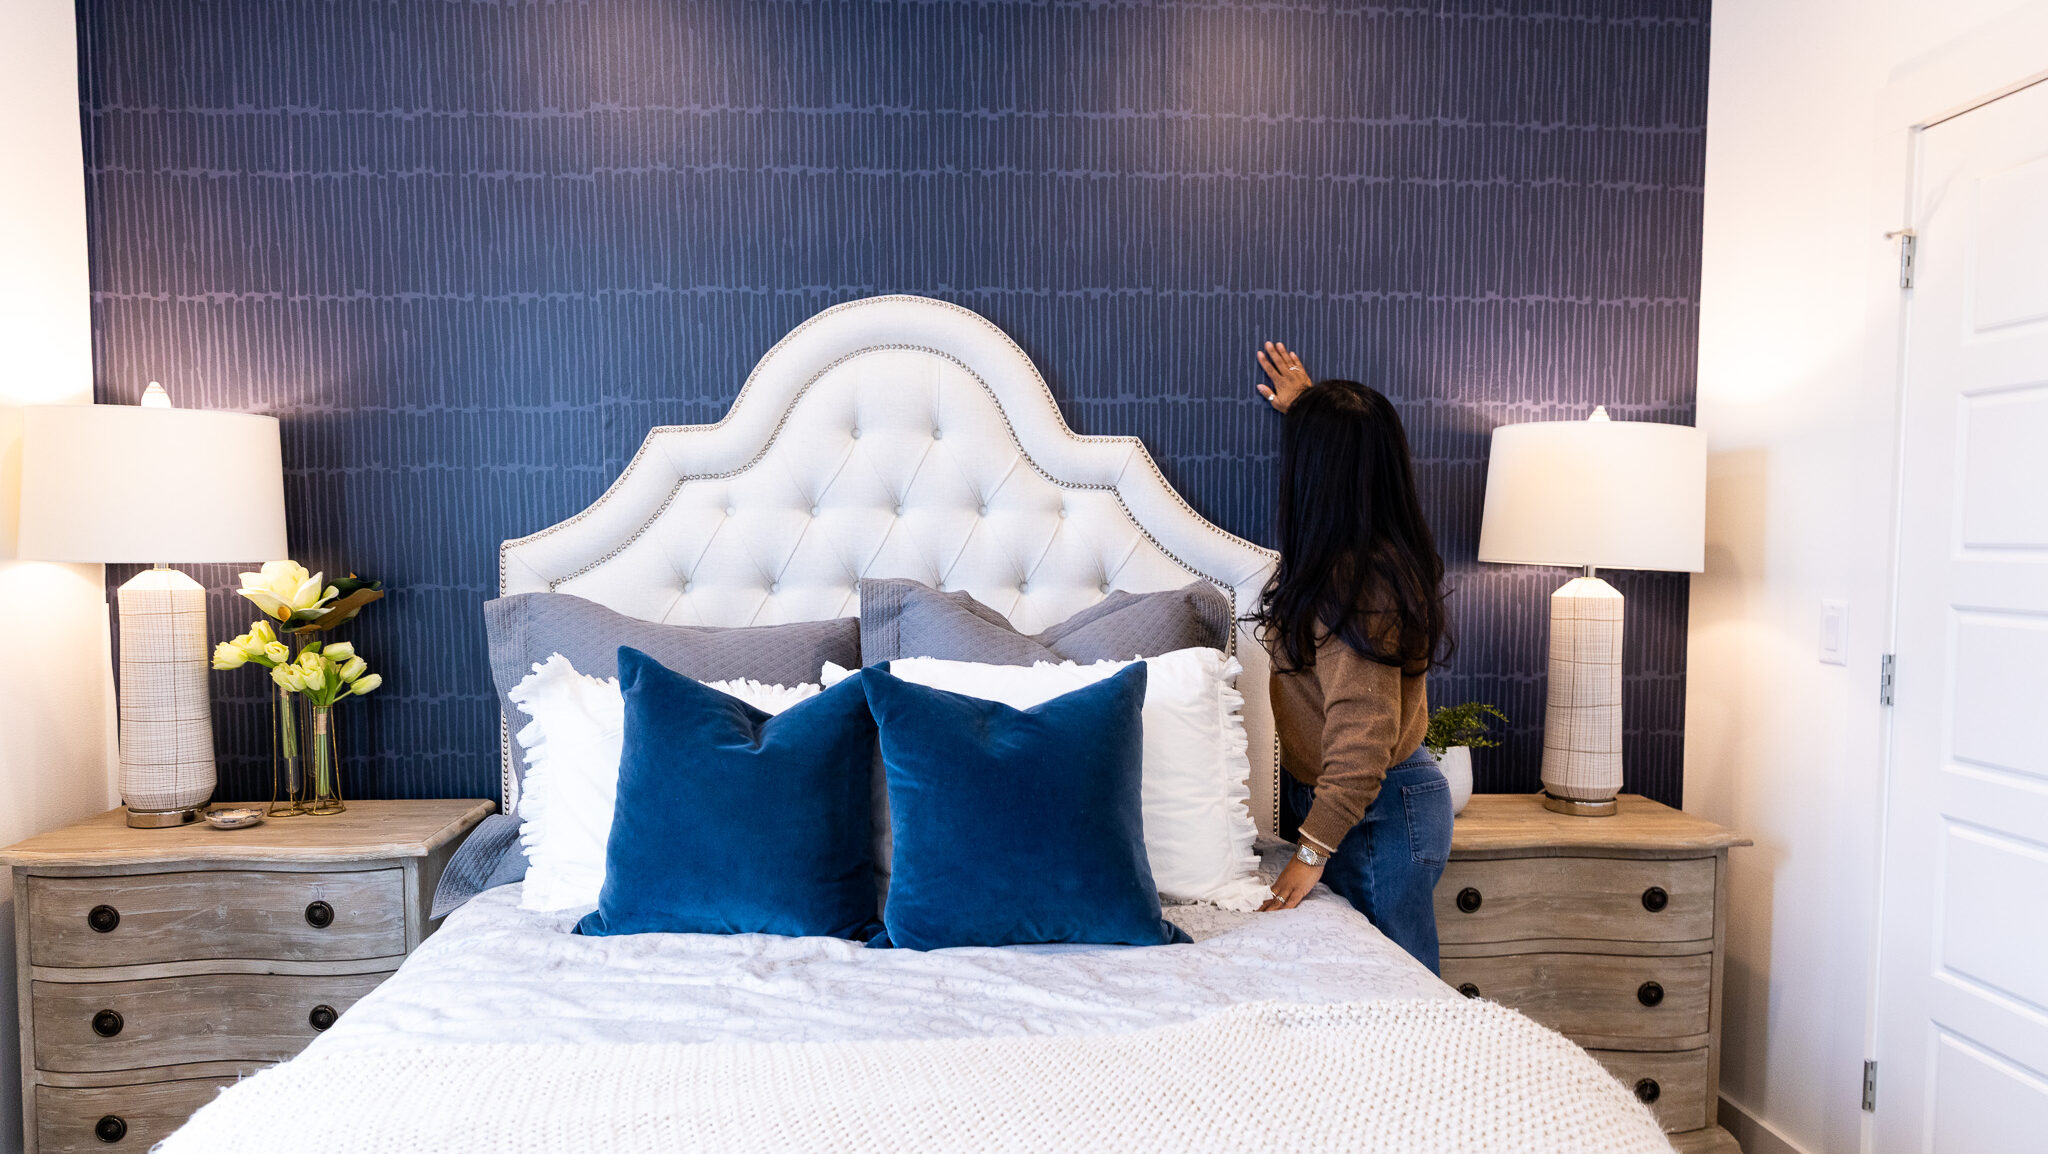
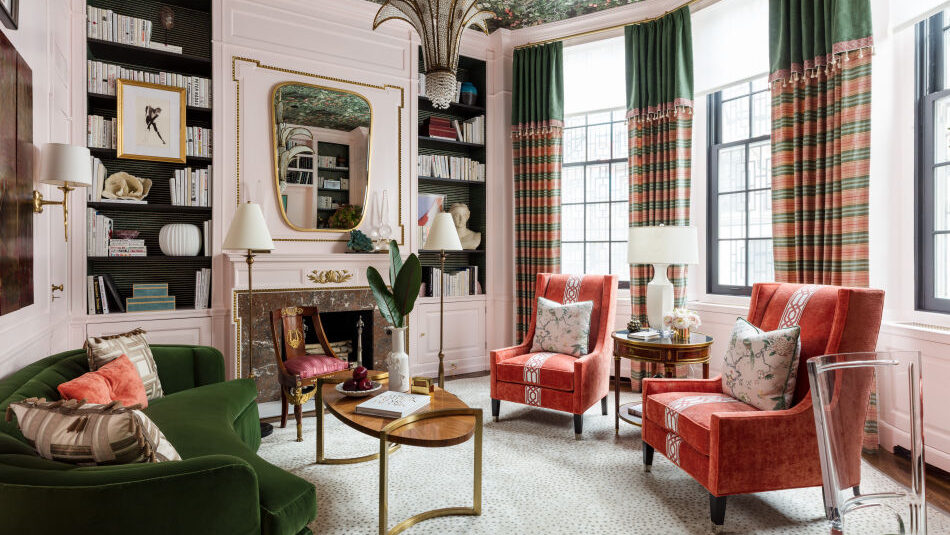
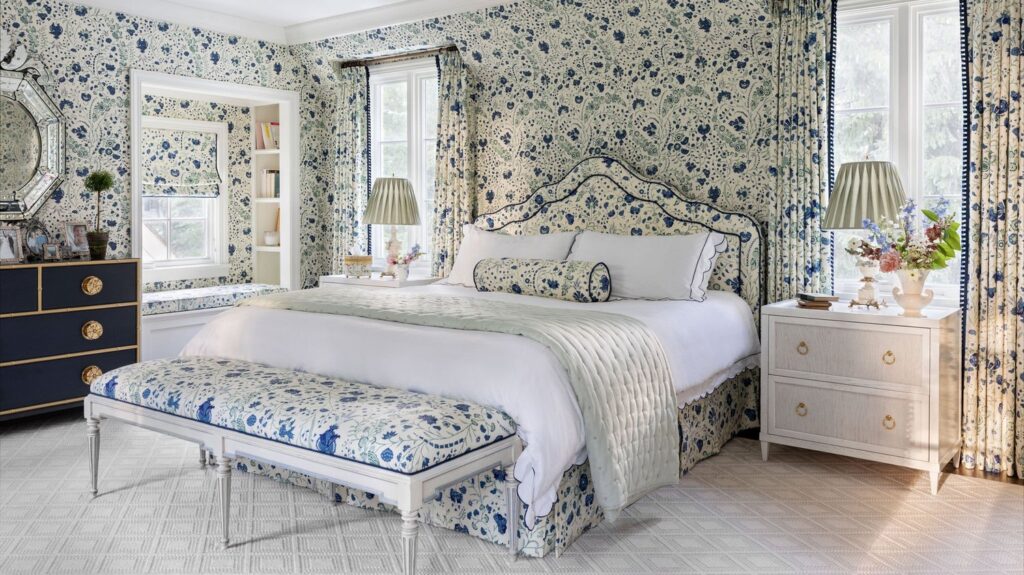
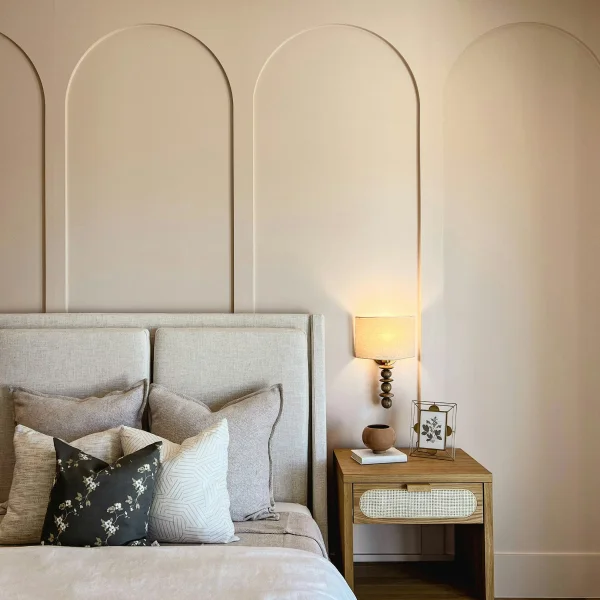
 Before removing the backing, step back and look at the room. Where is the focal point? A bed? A vanity? An arched doorway? That’s where your eye will land — and where your pattern should feel intentional. So instead of starting randomly in a corner, consider whether you want a full motif centered behind the bed, to frame your mirror or another specific spot. Also determine where seams will be least noticeable.
Next, lay panels out on the floor, and visualize the flow. (Pro Tip: Even before you pick a pattern, calculate the exact amount of wallpaper you need by measuring the wall’s total height and width, regardless of openings. If you’re wallpapering multiple walls, measure the highest point and add up the widths of each wall.)
While you don’t need a contractor’s toolbox, you may want to purchase (or borrow from a handy friend) a few essentials that will help elevate the install: a sharp box cutter, a smoothing tool, and a good pair of scissors. A level (laser or otherwise) or a plumb line will allow you to measure more carefully and draw a straight guideline. Pro tip: Start with a straight vertical line. Walls are rarely perfectly square, and peel and stick will easily expose that. Your guideline is what keeps everything looking crisp—even if the room itself is doing its own thing.
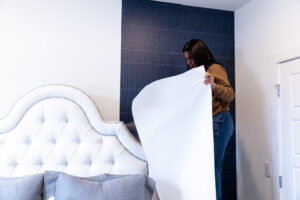
 Finally, start at the top of the wall and peel back only a few inches of backing at a time. Align carefully with your level line, then smooth downward using firm, outward strokes to push air toward the edges. If you see a bubble, don’t panic. Gently lift and reposition. Peel and stick is forgiving—that’s the beauty of it.
Continue to work in sections, stepping back often to check your alignment. Make micro adjustments early so they don’t become noticeable later. Take it slowly with each seam and corner, and use a box cutter to make way for any outlets or light switches. (Always turn off the power and remove the cover beforehand.) Pro tip: Change your blade more often than you think you need to. A fresh blade gives you clean edges and sharp corners. Often, the difference between “good” and “wow” is simply taking your time.
When you smooth that final seam and step back, you’ll feel it: a quiet shift in the room. The depth. The personality. The intention. Peel and stick isn’t just an easy upgrade; it’s proof that you can take a blank wall and turn it into something layered and designed. Trust your eye, and move slowly. Let it feel curated, not rushed. Because the best spaces aren’t the ones that look expensive, they’re the ones that look considered.