Wallpapering a ceiling transforms a room more completely than almost any other single change. Here’s the full guide — which patterns work, how to install, and why it’s less difficult than it sounds.

The ceiling is the surface with the most transformative potential in a room and the one that receives the least design attention. Most ceilings are white. Most white ceilings look like unfinished work. Wallpapering the ceiling changes that completely.
Why It Works
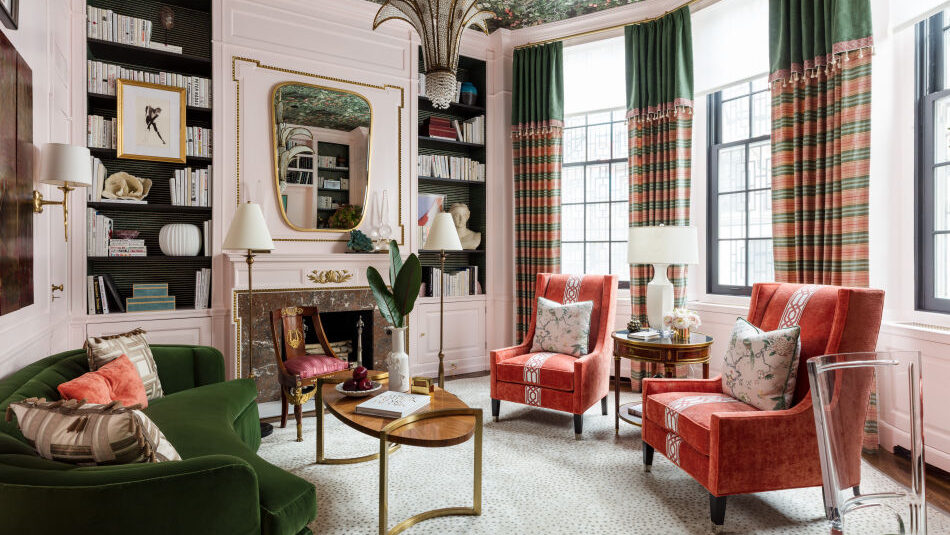
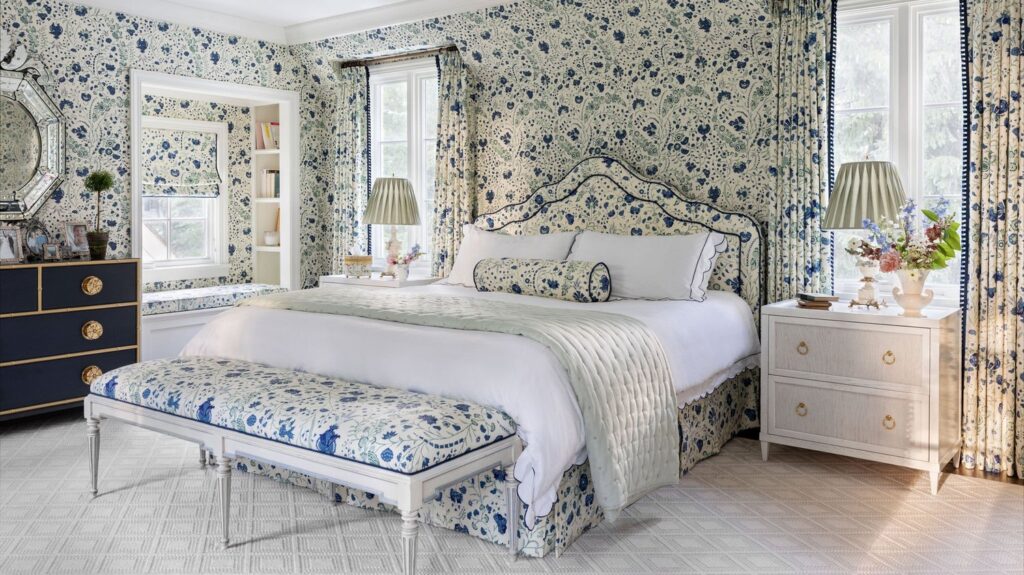
When a ceiling is wallpapered in the same pattern as the walls, the corners disappear. The eye can’t find the precise line where wall meets ceiling. The room loses its box quality and gains an enveloped one. Visual height increases: activating the ceiling draws the eye upward, making the room feel taller.
Choosing the Right Pattern
Painted Paper’s Oleander — bees, mushrooms, and wildflowers on cream — is one of the strongest patterns for ceiling application. The non-directional organic composition works at any viewing angle. The scale is sufficient to read from below. One of their best sellers, it performs particularly well in bedrooms and reading rooms.

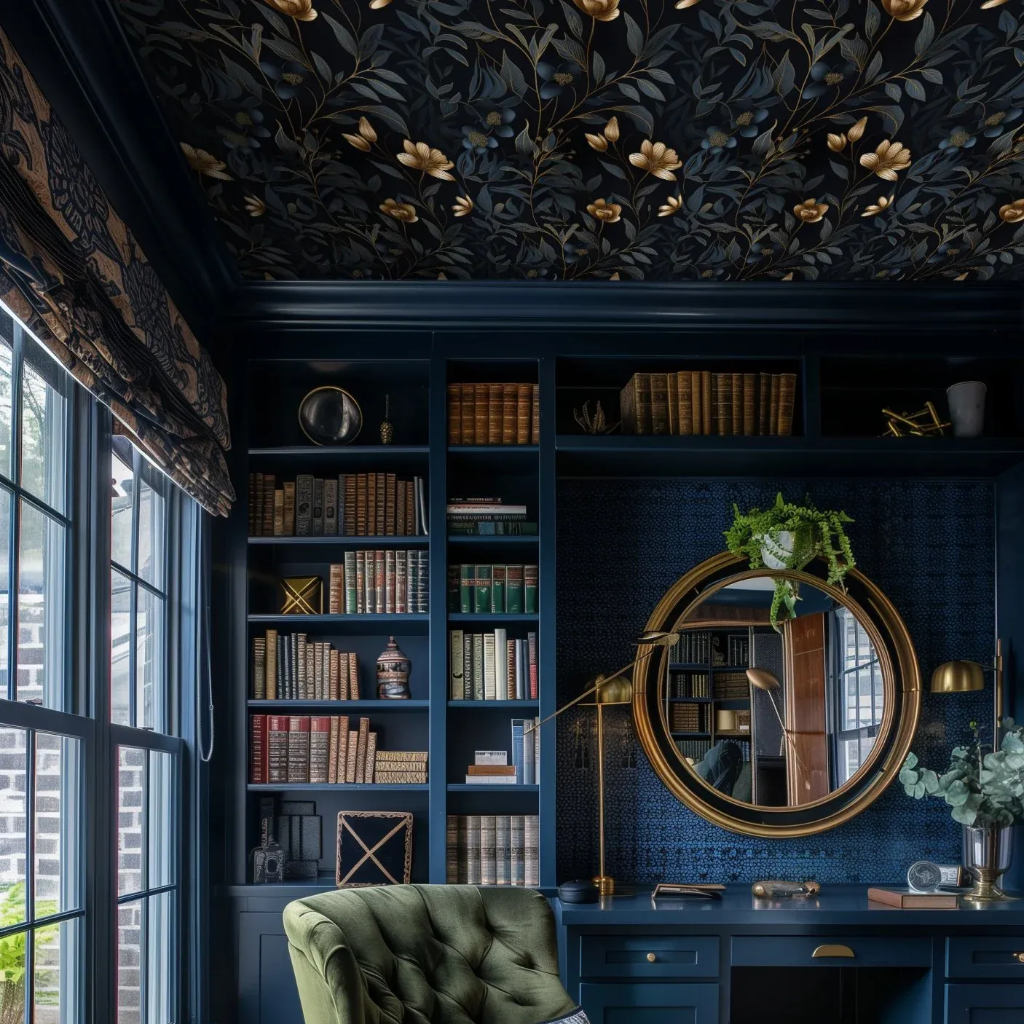
For a dramatic jewel box ceiling: Painted Paper’s Odette Arboretum — metallic botanical on black with gold and dark bronze — is extraordinary overhead in a dining room or bedroom. The metallic elements catch candlelight from below in a way that is genuinely breathtaking.

From Lemon Park, Alta brings a fresh, confident pattern energy overhead — a standout design for rooms that want ceiling impact with a lighter hand than the deep botanical options.

Also from Lemon Park: Maren — a moody, organic floral in rich tones that creates an enveloping ceiling environment, particularly in dining rooms and bedrooms.

The Practical Guide
Step 1: Measure carefully. Measure the ceiling length and width. Add 4 inches to each measurement for overlap. Calculate rolls needed based on pattern repeat. Order one additional roll.
Step 2: Prepare the ceiling. Clean, smooth, primed. Apply a wallpaper-specific primer for better adhesion.
Step 3: Establish a straight line. Use a chalk line parallel to the room’s longest wall.
Step 4: Paste and hang. For peel-and-stick: ceiling application requires a second person. One holds and aligns; one smooths and removes the backing incrementally. Work in 12-inch sections from the center outward.
Step 5: Trim and finish. Trim at the ceiling-wall junction using a straight edge and sharp knife. Butt seams rather than overlapping.